• Newsletter
  • Contact
  • Advertise
  • Media

Money Saving Queen

Frugal Living, Recipes & Deals

  • Home
  • About
  • Frugal Living
  • Finances
  • Coupons and Deals
    • Grocery Coupons
    • Amazon Deals
    • Black Friday
    • Retail Coupons
  • Matchups
    • ALDI
    • Crest
    • CVS
    • Dollar General
    • Family Dollar
    • Homeland
    • Natural Grocers
    • Reasors
    • Sprouts
    • Target
    • Walgreens
    • Walmart
  • Recipes
  • Contests
  • Freebies
  • Events

How to Make a Homemade Degreaser

March 7, 2015 By Sarah Roe 7 Comments

Kitchen surfaces like stoves, light fixtures and ceiling fans can get greasy. Make your own degreaser and remove that sticky film from your kitchen. Just spray and wipe, that’s it. Use this solution even on light fixtures and ceiling fans to remove the stubborn grease. I used to just use a wet rag, but that never worked.

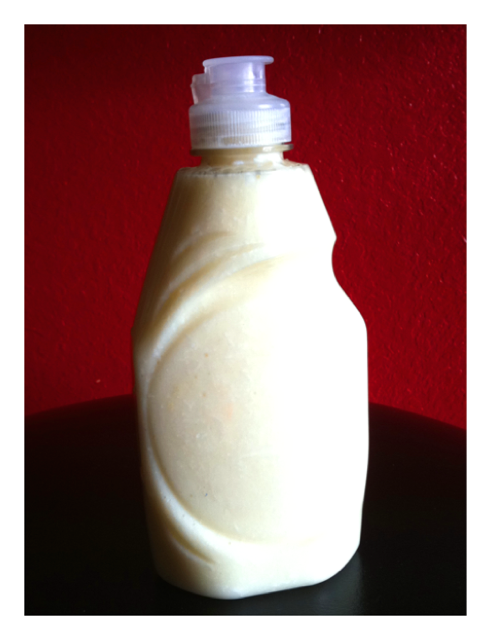
Keep it mixed in a bottle, handy for a quick cleaning.

How to Make a Homemade Degreaser

1 part distilled white vinegar
1 part water 
1 tbsp. degreaser soap like Dawn or store brand

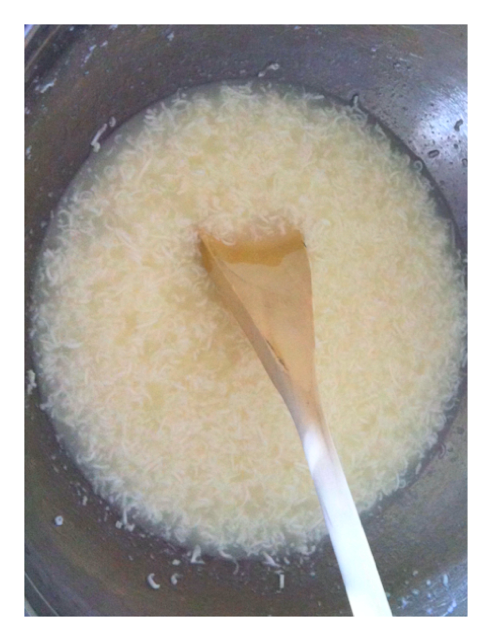
Combine in a sprayer bottle and it’s ready to be used.

Gotta love how easy it is to use and it works great! Now if it could clean itself, that would be magical.

Filed Under: Frugal Living Tagged With: degreaser, DIY, frugal living, homemade degreaser

Frugal Living: How to Make Your Own Dish Soap

March 7, 2015 By Sarah Roe 1 Comment

dishes1-b3b501ea

While I do realize dish soap is cheap (especially if you coupon), I’m also all into this ‘make your own’ thing right now so I think this recipe is pretty cool. Ideally, you simply save left over bits of soap and combine them all together to make this. However, I think that is gross so I shaved a bar of Ivory soap instead. You can do it either way and it works great!

Ingredients:

1 Cup of Soap Shavings (or little pieces of leftover soap in small shavings)

1/2 Cup Hot Water

Dawn2


Directions:

Simply grate a bar of Ivory soap to get 1 cup of shavings. Pour your shavings into a large bowl and mix with 1 1/2 – 2 cups of very hot water. Mix this well and let it sit for an hour or so. You’ll find that the shavings melt into the water. You can let it sit for several hours or overnight if you prefer.

Once you’re done, pour it into an empty dish soap container or squirt bottle.

Since you can get dish soap so cheap, it might be best for your family to just buy it. However, I actually had several bars of Ivory soap that I picked up nearly free several months ago so for me, it was cheaper to make my own in this case. Obviously, if you saved up your little bits of soap, that would be even more frugal.

Dawn1

Filed Under: Frugal Living Tagged With: DIY, frugal living, how to make dish soap, tutorial

Frugal Living: Homemade Fabric Softener

March 7, 2015 By Sarah Roe Leave a Comment


Here is a great recipe from The Peaceful Housewife. I love this, if you’ve ran out of those fabulous Gain coupons or know that the day is coming when you’ll run out of the stacks of fabric softener you’ve stocked up on. For me, this is a great option due to skin sensitives in our house.

Homemade Fabric Softener:

You have your frugal homemade laundry detergent, but using commercial fabric softeners with your homemade laundry detergent would be a shame!
Homemade fabric softener will work wonderfully with your homemade detergent and will help keep your clothes soft without using unnecessary chemicals that don’t rinse out of your clothes.
Materials
1 cup water
1 cup baking soda
2 cups white vinegar
20 drops of essential oil of your choice
Choose a container with ample room to ensure that there’s enough room for the chemical reaction that will occur. Combine the above ingredients, beginning with the water, essential oil and baking soda and then very slowly adding the vinegar to avoid the volcano effect.
Use 1/2 cup in the rinse cycle of your washer or wet a washcloth and throw it in the dryer with your clothes.
Want to save even more on doing your laundry? Hang the clothes on a clothes line to dry halfway and then put them in the dryer with a washcloth with fabric softener on it.


Filed Under: Frugal Living Tagged With: DIY, fabric softener, frugal living, homemade

Frugal Recipe: Make Your Own Egg McMuffins & Freeze Them

March 7, 2015 By Sarah Roe 2 Comments


So, I have a confession. I love Egg McMuffins. Yep, I do. I especially love them when I leave my house at 4:45am for work and just have to get something to eat. I’ve noticed a few things though and one of those (aside from my pants getting tighter) is the price. The cost of an Egg McMuffin isn’t that much but it can add up over time if you are buying them on a regular basis…which I am not…but if I were or knew someone who was then I would know that the cost can add up.

Enter Pinterest. 

I am rather proud of myself. In the last 2 days, I have made 3 frugal meals from ideas I saw onPinterest. I’m not a fan of cooking but I was completely enticed by amazing pictures and had to try a few recipes. I actually have 3 more I plan to cook by the end of the week. One of these great ideas were Egg McMuffins.

I bought all the ingredients for this recipe for $8. That means, I made 12 Egg McMuffins for only $8 rather than paying a little over $1 each for them at McDonald’s. If you hit the sales and coupons just right, you could make that price drop even lower. The recipe came from Macheesmo.com. (And, just a side note, the blogger mentioned that a McDonald’s Egg McMuffin contains 55 ingredients. You can make it at home with only 4 ingredients. Yeah, much better.)

The best part is that you can freeze these muffins too!

{Ingredients}

12 Eggs

12 English Muffins

12 slices of Canadian Bacon

2 Cups Shredded Cheese

{Directions}

Grease a muffin tin and place inside each holder one cracked egg.

Cook the eggs at 350 for 10-15 minutes. Make sure you grease those little muffin holders before you put the egg in or you will never get it out.

Split the English muffins and throw them in the oven too at the same time with the eggs. This will toast them nicely and get them ready for assembly.

Next, all you need to do is layer the cheese and Canadian bacon onto the muffins. I suppose you could put whatever you want on there but if you’re trying to stay with the same McDonald’s theme then use Canadian bacon and cheese.

And there you have it! It’s an Egg McMuffin folks! Ok, so it’s not quite as pretty but it does taste the same and it’s half the price plus, it’s homemade. You can’t beat it.

This is what Macheesemo says about freezing them:

“If you want to store these for later, stick all your sandwiches on a baking sheet and put them all in the freezer, uncovered and unwrapped. Leave them in there for about an hour. This will give them a chance to give off some moisture and also freeze a bit. If you were to wrap them up right away then there would be all kinds of liquid that would condense.

But don’t forget about them or they’ll get freezer burned. Pull them all out after an hour or two and wrap them individually in plastic wrap or foil and then store them in a freezer safe plastic bag. They will keep for a few weeks without a problem.”

She also says it’s best to heat them up by putting them in the oven, I zapped mine in the microwave for 45 seconds though because I don’t have time to cook in the mornings. It made it kinda hard, for sure the oven is best to reheat them. But, these just rock. So you might it either way! I now have 12 of these in my freezer for those early news mornings.

Enjoy the goodness!

Filed Under: Frugal Living Tagged With: DIY, food, frugal living, recipes

Couponing 101: Making a Coupon Binder

March 2, 2015 By Sarah Roe 17 Comments

Couponing 101

Do your coupons expire before you ever remember to use them? That’s likely because of organization. Keep in mind, I’m a throw-it-in-a-box person but with coupons, organization is the key to savings. The most popular way of organizing coupons is by using the coupon binder.

1. Use a 3-ring binder: You can start with a 1″ then work your way up if need be. You can also use the old school Trapper Keeper’s too.

005_picnik-fe2a132e


2. Baseball Card Holders: Baseball card dividers can be picked up at most hobby stores, Walmart, Target and Kmart. I love these on Amazon, they’re sturdy and perfect for multiple coupons. This is what you’re seeing in the picture on top. Honestly, this is the best way to organize your coupons in a way you can actually see them. Just fold them and tuck them in. You can stack them pretty deep too.

3. Section Dividers: You’ll need to divide each section to make it easier to find. If you only shop at one store, you can set up the dividers to be each individual aisle at that store. However in my case, I have them divided up by the following sections (in any order you’d like):

Baby Items
Baking Products
Beverages
Breakfast Foods/ Cereals
Canned Goods
Condiments/ Dressings
Cleaning Products
Cooking Items
Dairy
Drug Items
Frozen Foods
Meat
Paper Goods
Pasta/ Rice
Pet Items
Sauces/ Seasonings
004

You can add a calculator, scissors or anything else you’d prefer as well. Really, great organization is very personal, it’s all about what works for you. I’ve found this to be the most popular method and certainly the easiest one for me.

Coupon binders make it EASY to save money! Be sure to check out Favado and learn how to save on the go too! Favado is a new app complete with coupon matchups and coupons to your favorite stores.
Bookmark our Coupon Matchup page as well for the BEST deals every single week!

Filed Under: Financial Planning, Frugal Living, Printable Coupons Tagged With: coupon binder, couponing 101, DIY, frugal living, making your own coupon binder

  • « Previous Page
  • 1
  • 2
  • 3
  • 4
  • Next Page »

Copyright © 2023 · Money Saving Queen · All Rights Reserved

Sign up to receive our daily deals, upcoming events and contests!
Your information will *never* be shared or sold to a 3rd party.